Introduction: Why Machine Vision Matters Today
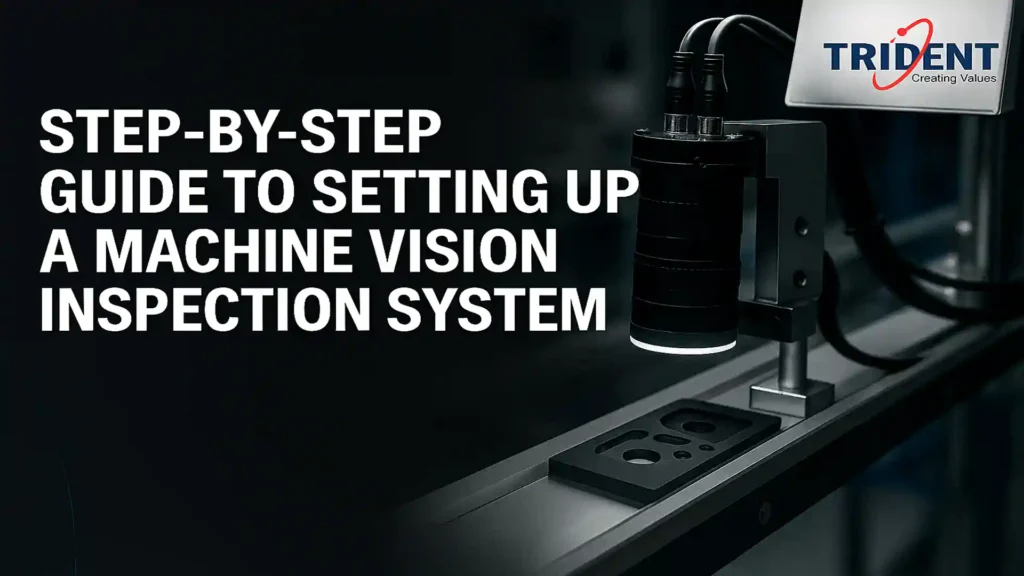
In today’s fast-moving manufacturing world, quality cannot be left to chance. Machine Vision Inspection Systems have become essential tools for achieving precision, consistency, and automation across production lines. These systems use cameras, sensors, and intelligent algorithms to detect defects, verify measurements, and ensure products meet required standards.
Setting up a machine vision system may seem complex, but with the right approach, the process becomes systematic and efficient. This step-by-step guide walks you through everything you need — from planning and hardware selection to calibration and final testing — making it easy for any business to implement and optimize a vision-based inspection system.
Understanding Machine Vision Inspection Systems
What Is a Machine Vision System?
A machine vision system is a combination of hardware and software that captures and analyzes images to make automated decisions. It replaces manual inspection with a highly accurate, consistent, and scalable solution. By processing high-speed images, it identifies defects, reads codes, verifies labels, and measures dimensions with unmatched accuracy.
Key Benefits of Machine Vision
Machine vision eliminates human error by offering objective, repeatable inspection. It improves efficiency by working continuously at high speeds without fatigue. It also enhances product quality, reduces waste, and helps maintain compliance across various industries, making it a critical investment for modern manufacturing.
Define Your Inspection Requirements
Identify What You Need to Inspect
The first and most important step is identifying the exact product features you want to inspect. This may include shape, size, surface defects, color consistency, label accuracy, or barcode readability. Clearly defining these criteria ensures the system is tailored to your quality goals.
Determine Accuracy and Speed Requirements
Different industries have different tolerances. You must decide how precise your measurements need to be and how quickly your inspection must run. These factors directly influence your choice of camera resolution, lighting strength, and processing power.
Identify Environmental Constraints
External conditions like dust, vibrations, humidity, or changing light can impact a vision system’s performance. Evaluating your environment helps you choose appropriate enclosures, lenses, lighting systems, and industrial-grade hardware.
Select the Right Hardware
Choosing the Right Camera
Selecting a camera is one of the most crucial decisions. High-resolution cameras capture more detail, which is essential for detecting micro-defects. High-speed cameras are better for fast-moving lines. The choice depends on your product type, inspection speed, and accuracy needs.
Selecting the Correct Lens
The lens decides what the camera sees. You must choose a lens that offers the right field of view, working distance, depth of field, and clarity. A high-quality lens ensures the system captures sharp and accurate images for analysis.
Importance of Lighting
Lighting determines how clearly defects appear. Whether you use LED, backlight, infrared, or diffused lighting, the setup must eliminate shadows, reflections, and variations. Good lighting is essential for consistent image quality.
Choosing Sensors and Triggers
Sensors and triggers help synchronize the inspection system with your production line. They ensure the camera captures images at the precise moment the product passes by, improving timing accuracy and minimizing missed inspections.
Select Machine Vision Software
Pre-Built Software vs. Custom Programming
Pre-built vision software works well for standard inspections, offering drag-and-drop tools, pattern matching, and measurement functions. Custom programming is ideal for complex requirements, offering deeper flexibility, specialized algorithms, and full customization.
Key Features to Look For
Your software should support real-time processing, defect classification, data logging, image enhancement, and integration with existing systems like PLCs or MES platforms. It should also allow for easy calibration and adjustment based on new specifications.
AI and Deep Learning Capabilities
Modern vision software increasingly includes AI and deep learning modules. These advanced tools improve accuracy, especially for complex tasks like texture recognition, anomaly detection, and identifying unpredictable defects that traditional algorithms may miss.
Create a Stable Mechanical Setup
Mounting the Camera Securely
A stable mount is critical for consistent image acquisition. Any vibration or misalignment can distort images. Using industrial-grade mounts ensures the camera remains perfectly aligned throughout the production cycle.
Ensuring Proper Working Distance
Each lens has an optimal distance at which it captures the sharpest images. You must set the camera at a fixed working distance to maintain clarity and avoid focus issues. This also ensures accurate measurements and repeatable results.
Conveyor or Fixture Alignment
Products should move consistently through the inspection area. Fixtures, guides, and conveyor systems may need adjustments to ensure every item is positioned identically when captured, minimizing variations and false errors.
Integrate Lighting for Maximum Clarity
Choosing the Best Lighting Method
Lighting must highlight the defects you are trying to detect. For example, scratches are best revealed with side lighting, while shape contours need backlighting. Selecting the right lighting method boosts defect visibility and improves detection accuracy.
Positioning and Angle Matters
Even the perfect light won’t work if positioned incorrectly. Adjusting lighting angles helps you eliminate shadows and create high-contrast images that make defects stand out clearly. Fine-tuning this step significantly enhances inspection performance.
Avoiding Reflection and Glare
Reflective surfaces like metals, plastics, or glossy labels can distort images. Diffused lighting, polarizers, and filters help minimize glare and enhance contrast, allowing the vision system to capture more accurate details.
Configure the Vision Software
Image Acquisition Setup
Begin by configuring how images will be captured — brightness, exposure time, contrast, and frame rates. These settings determine the clarity of the image and are essential for reliable inspection performance.
Setting Inspection Algorithms
This includes defining what the system should look for. Algorithms can detect edges, measure dimensions, match patterns, read OCR text, or identify defects. Each rule must be configured according to your quality standards.
Calibrating Accuracy
Calibration aligns the vision system with real-world measurements. Proper calibration ensures the system measures objects correctly, allowing the software to deliver accurate, repeatable results across all batches.
Test, Validate, and Optimize the System
Conducting Sample Runs
Before going live, run multiple batches through the system. This helps you test the accuracy and reliability of the setup. Sample runs highlight any issues in lighting, timing, or detection algorithms.
Adjusting Thresholds and Tolerances
Not all defects are equal. You may need to fine-tune thresholds so the system recognizes what is acceptable and what is not. Proper tuning avoids false positives and unnecessary rejects.
Ensuring Long-Term Repeatability
Your system must deliver the same output across different shifts, temperatures, and working conditions. Regular validation ensures the system remains stable and consistent over time.
Integrate with the Production Line
Connecting to PLC or Control Systems
Machine vision must communicate with other equipment. Integrating with PLCs allows the system to trigger alarms, stop machines, reject defective items, or activate diverters automatically.
Creating Automated Reject Mechanisms
Once a defect is detected, the system should automatically remove the faulty product. Automated rejection ensures consistency, prevents manual errors, and keeps production flowing smoothly.
Data Storage and Reporting
Vision systems generate valuable data. Storing images, inspection results, and defect trends helps you analyze production performance, optimize processes, and maintain compliance records.
Train Your Operators and Team
Understanding System Basics
Operators should understand how the machine vision system works, how to monitor it, and how to identify common issues. Basic training ensures they handle routine situations confidently.
Managing Routine Maintenance
Regular checks on camera alignment, lens cleanliness, and lighting condition ensure long-term performance. Well-trained teams prevent downtime by performing preventive maintenance.
Updating Inspection Rules
Quality standards can change over time. Operators must know how to update software thresholds or inspection rules when specifications evolve.
Establish Continuous Improvement Practices
Monitoring Long-Term Performance
Over time, the system’s performance should be analyzed using historical data. Identifying trends helps improve product quality and refine inspection rules.
Using Analytics to Reduce Defects
Machine vision data is gold for identifying root causes. Analytics reveal where most defects occur so you can improve upstream processes and reduce rework.
Scaling the System Across Multiple Lines
Once the system proves effective, you can expand it across other production lines. A scalable approach ensures your entire facility benefits from automated inspection.
Common Challenges and Their Solutions
Lighting Issues
Inconsistent lighting causes unreliable results. Adjusting angles, adding diffusers, or upgrading lighting intensity can resolve visibility issues and improve consistency.
Blurry or Unclear Images
This is often caused by incorrect focus or movement. Stabilizing mounts and optimizing shutter speeds help capture sharper images even in high-speed environments.
False Positives or Missed Defects
Fine-tuning algorithms, adjusting thresholds, and performing regular calibration reduces misclassifications and strengthens overall system reliability.
Benefits of a Well-Configured Machine Vision System
Consistent Quality Inspection
Machine vision offers uniform and repeatable inspection results, eliminating the subjectivity and fatigue associated with human inspectors. This consistency helps maintain product quality across all batches.
Reduced Waste and Higher Efficiency
By catching defects early in the process, you reduce rework and prevent material waste. Automated inspections also speed up production cycles and improve throughput.
Better Compliance and Traceability
Machine vision systems generate detailed logs of every inspection. This documentation supports compliance, audits, and quality certifications, enabling full transparency across manufacturing operations.
Conclusion: Machine Vision Is the Future of Quality Control
Setting up a Machine Vision Inspection System is one of the smartest investments a manufacturing company can make. From defining requirements to selecting hardware, configuring software, testing, and integrating into production — each step plays a crucial role in ensuring seamless operation.
A well-implemented vision system enhances accuracy, reduces waste, and drives long-term operational excellence. As industries continue to embrace automation and AI, machine vision will remain at the core of intelligent manufacturing and quality assurance. For further inquiries or a demo, you can Contact Trident Information Systems. Stay ahead of the innovation curve! Follow our LinkedIn page for the latest insights and updates on how Vision Intelligence System are revolutionizing The industry.
FAQs
1. Is machine vision suitable for small-scale manufacturers?
Yes, modern vision systems are flexible and scalable, making them ideal for both small plants and large factories. Even simple setups can provide significant quality and efficiency improvements.
2. How long does it take to set up a machine vision system?
Setup time depends on the complexity of the inspection. Simple systems can be operational within a few days, while advanced multi-camera setups may take weeks for full integration and testing.
3. Can machine vision detect all types of defects?
Machine vision excels at visual and dimensional defects. For complex defects, AI-enhanced or deep learning modules increase detection accuracy and adapt over time.
4. What industries use machine vision inspection?
Automotive, electronics, food and beverage, pharmaceuticals, packaging, and manufacturing industries widely use machine vision systems for quality, safety, and compliance.
5. Do I need AI for my vision system?
Not always. Traditional machine vision works well for structured inspections. AI becomes useful when defect patterns are variable, complex, or difficult to classify manually.


