Manual PPE Checks Are Failing: How AI Computer Vision Fixes Safety Gaps
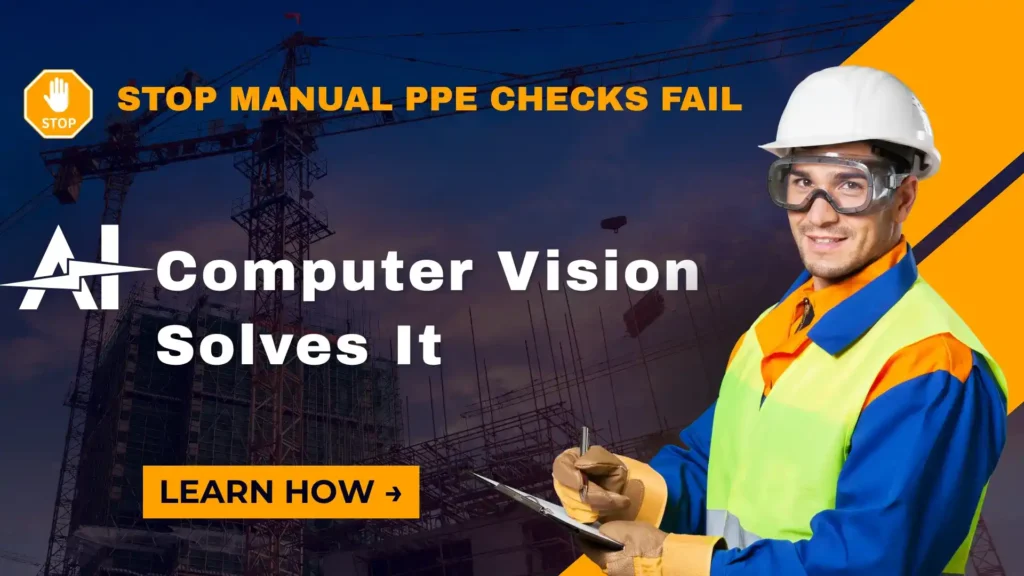
Workplace safety starts with PPE compliance – but if you’re relying on manual checks by supervisors, you’re missing nearly half of all violations. Human observers can’t be everywhere at once, they get fatigued, and they miss critical moments when workers remove hard hats, safety glasses, or gloves in high-risk zones. The result? Preventable injuries, OSHA fines, and liability exposure. Enter AI-powered computer vision: 24/7 automated PPE detection that catches violations in real-time with 98%+ accuracy. The Problem: Why Manual PPE Checks Fail Coverage Gaps Supervisors can’t monitor multiple zones simultaneously Human Fatigue Attention drops after 20-30 minutes of observation Inconsistency Different supervisors enforce rules differently Delayed Detection Violations discovered hours or days later via footage review 40% of PPE violations missed in traditional manual inspection programs (NIOSH study) Real-World Consequences The Solution: AI Computer Vision for PPE Detection Computer vision AI uses existing security cameras to automatically detect whether workers are wearing required PPE — hard hats, safety vests, gloves, masks, safety glasses, ear protection — in real-time across your entire facility. How AI PPE Detection Works Step 1: Install AI software (works with existing cameras) Step 2: Define PPE zones (hard hat required, vest required, etc.) Step 3: AI monitors 24/7, detecting PPE compliance violations Step 4: Instant alerts sent to supervisors via SMS/email/dashboard Step 5: Automated compliance reports for OSHA audits Key Capabilities of AI PPE Systems Multi-PPE Detection: Simultaneously detect 10+ PPE types (hard hat, vest, gloves, mask, goggles, ear protection, safety shoes, fall protection harness) Zone-Based Rules: Different PPE requirements for different areas (warehouse vs. production floor vs. chemical storage) Real-Time Alerts: Instant notification when violation detected — supervisors respond in seconds, not hours 98%+ Accuracy: Deep learning models trained on millions of images across lighting conditions, angles, and occlusions Privacy Protection: No facial recognition — detects PPE only, not individual identities Benefits: Why Companies Switch to AI PPE Detection 1. Reduce Workplace Injuries by 60-80% Proactive enforcement prevents injuries before they happen. Case study: Manufacturing plant reduced PPE-related injuries from 12/year to 2/year after AI deployment. 2. Achieve 99%+ PPE Compliance Rates When workers know AI is monitoring 24/7, compliance becomes habit. Behavior changes within weeks. 3. Cut Safety Labor Costs 40% Eliminate dedicated safety observers. Supervisors get alerts only when violations occur, not constant monitoring. 4. Pass OSHA Audits Effortlessly Automated compliance reports show violation trends, corrective actions, and training effectiveness. Demonstrates “serious commitment to safety.” 5. Lower Insurance Premiums Proven safety programs qualify for workers’ comp premium reductions (10-25% typical). $2.4M Average ROI in first year for facilities with 200+ workers (injury reduction + insurance savings) Industries Using AI PPE Detection Implementation: Easier Than You Think Most companies assume AI requires massive infrastructure upgrades. Reality: if you have security cameras, you’re 80% there. What You Need Typical Timeline Week 1-2: Site assessment, camera evaluation, zone definition Week 3-4: AI model training on your specific environment Week 5-6: Pilot deployment (1-2 zones), accuracy validation Week 7-8: Full rollout, staff training, dashboard setup Total: 6-8 weeks from contract to full operation Choosing the Right AI PPE Detection System Not all computer vision platforms are equal. Look for: Overcoming Common Objections “Workers will feel like they’re being spied on.”AI detects PPE compliance, not worker identity. No facial recognition. Communicate that the goal is safety, not surveillance. Most workers appreciate reduced injury risk. “Our lighting/environment is too challenging.”Modern AI handles low light, glare, occlusion, and weather. Models trained on diverse conditions. “Too expensive for our budget.”ROI typically 6-12 months via injury reduction and insurance savings. Cloud-based SaaS pricing starts at $200-$500/camera/month. The Future of Workplace Safety AI computer vision is becoming the standard for workplace safety compliance. Companies that adopt early gain: Bottom line: Manual PPE checks can’t compete with 24/7 AI monitoring. If workplace safety matters, computer vision isn’t optional — it’s essential. Ready to Fix Your PPE Compliance Gaps? See how AI computer vision can reduce injuries by 60-80% and achieve 99%+ PPE compliance in your facility. Schedule Free Safety Assessment → Trident VIS empowers industries like retail, manufacturing, healthcare, and smart city infrastructure with AI-Powered advanced video analytics solutions designed to meet their specific needs. Transform your safety, security, and operational efficiency with Vision Intelligence Systems. For more insights, follow our LinkedIn page and stay updated on the latest innovations!
Manual PPE Checks Are Failing: How AI Computer Vision Fixes Safety Gaps Read More »